Posted on Leave a comment

How to Start Your Yoga Practice for Kitesurfers

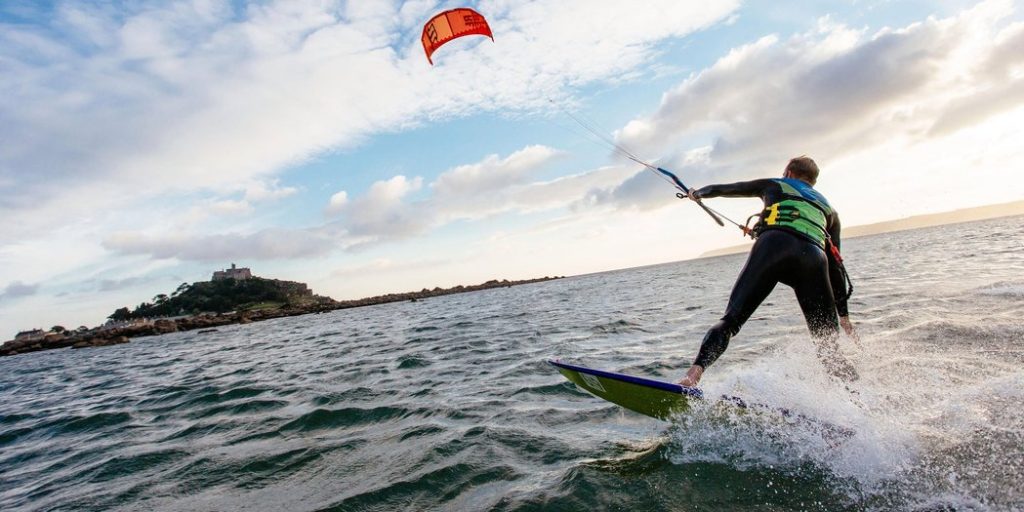
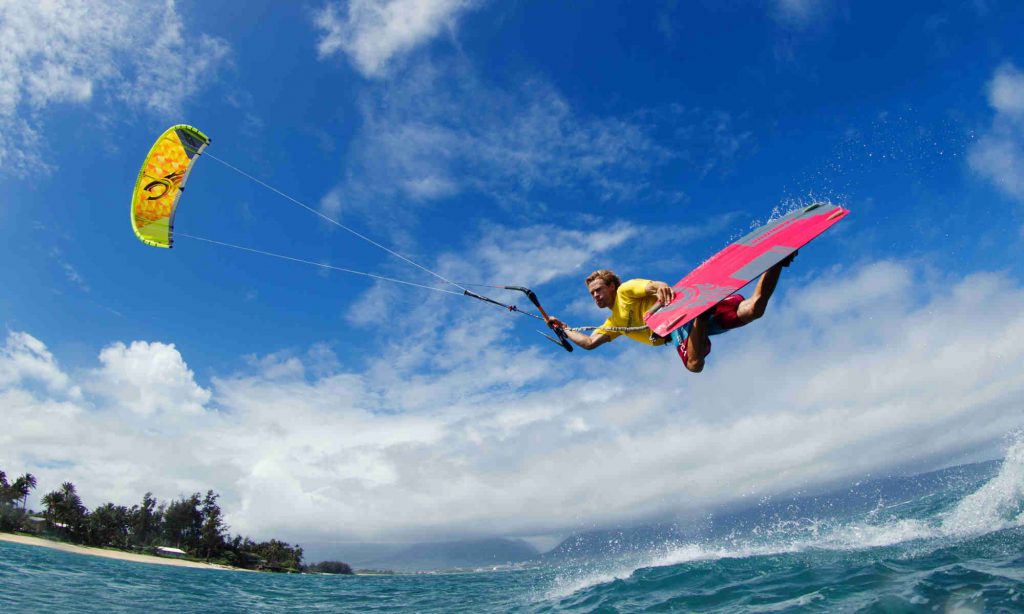
Kitesurfing is an exhilarating sport that demands physical strength, flexibility, and mental focus. As kiteboarders, we often push our bodies to the limits, harnessing the wind and waves to glide across the water. However, with this excitement comes the need for balance and recovery. Yoga offers the perfect complement to kitesurfing, providing both physical conditioning and mental relaxation. Whether you’re a seasoned kitesurfer or just starting out, integrating yoga into your routine can enhance your performance and prevent injuries. Here’s how to get started on your yoga journey:

1. Understand Your Goals:

Before rolling out your mat, take a moment to consider why you want to incorporate yoga into your kitesurfing regimen. Are you aiming to increase flexibility, improve core strength, or find mental clarity? Understanding your goals will help you tailor your yoga practice to complement your kitesurfing needs.

2. Start with the Basics:

If you’re new to yoga, begin with foundational poses and sequences. Focus on alignment and breath awareness. Poses like Downward Facing Dog, Warrior poses, and twists can help stretch tight muscles, improve balance, and build strength in areas crucial for kitesurfing, such as the legs, core, and shoulders.

3. Embrace Flexibility and Mobility:

Flexibility is key in kitesurfing, especially for maneuvers that require agility and balance on the board. Yoga postures like Pigeon Pose, Forward Folds, and Seated Twists can help release tension in the hips, hamstrings, and lower back, enhancing your range of motion and preventing stiffness after long sessions on the water.

4. Build Core Strength:

A strong core is essential for stability and control in kitesurfing. Incorporate poses that engage the abdominals and lower back, such as Boat Pose, Plank variations, and Leg Lifts. These poses not only strengthen your core but also improve overall body awareness and control.

5. Focus on Balance and Coordination:

Yoga poses challenge your balance and coordination, skills that directly translate to kitesurfing. Practice balancing poses like Tree Pose, Eagle Pose, and Warrior III to develop steadiness and poise both on and off the water.

6. Cultivate Mental Focus and Relaxation:

Kitesurfing requires intense concentration and quick decision-making. Yoga offers tools such as Pranayama (breath control) and Meditation to calm the mind, increase focus, and reduce stress

. Incorporate these practices into your routine to enhance your mental resilience and clarity.

7. Listen to Your Body:

As kitesurfers, we are often attuned to our bodies’ signals—know when to push yourself and when to rest. Yoga is a practice of self-awareness and self-care. Respect your body’s limits and practice with mindfulness to avoid overexertion and injuries.

8. Stay Consistent:

Like kitesurfing, consistency is key to progress in yoga. Aim for regular practice, even if it’s just a few minutes each day. This will help you build strength, flexibility, and mental resilience over time.

9. Seek Guidance:

Consider attending a yoga class or working with a qualified instructor, especially in the beginning. They can provide personalized guidance, correct alignment, and offer modifications to suit your individual needs and goals.

10. Enjoy the Journey:

Yoga is a journey of self-discovery and growth. Embrace the process, celebrate small victories, and enjoy the physical and mental benefits that yoga brings to your kitesurfing practice and overall well-being.

By integrating yoga into your routine as a kitesurfer, you’re not only enhancing your physical capabilities but also nurturing a deeper connection between body and mind. So, roll out your mat, breathe deeply, and let yoga enrich your kitesurfing journey like never before. Happy practicing!

Posted on Leave a comment

The Top Ten Kite Shapes for Fun Flying

Girl-Kite Beach

If you have a kid or are a kid at heart, you owe it to yourself to enjoy some fun outside by flying a kite. There are a lot of different types of kites that you can choose between in order to enjoy and experience this. These kites have such fun shapes that you will be able to take advantage of in order to watch them soar high. If you want to buy a kite and take it for a fly far up above, consider these top ten kite shapes for fun flying.

1: Wing Shaped Kite

This kind of kite is majestic and beautiful to look at simply because of its winged shape. There are a lot of colors and designs that you can purchase to match the shape.

2: Flexible Shaped Kite

There are some kites that are free form and do not adhere to any particular state. This way, they will switch shape depending on the movement of the wind.

3: Diamond Shaped Kite

There are a few shapes more aerodynamic than the diamond shaped kite. This kite will fly high and will be fun to try out.

4: Triangle Shaped Kite

This type takes it back to basics, but has plenty of aerodynamic lift.

5: Arc Shaped Kite

If you really want your kind to soar high, this shape will flow and bounce for hours, catching the lift of the wind.

6: Pirate Ship Shaped Kite

Everybody loves a good pirate story. You get to live out that story using one of these kites.

7: Plane Shaped Kite

There are many kites that our shaped this way and come complete with decks and propellers.

8: Bird Shaped Kite

If you can’t fly like a bird, at least your kite can. This provides a great visual as your kite soars above the clouds.

9: Square And Rectangle Shaped Kite

There are many types with stacked squares and rectangles, creating an interesting double-decker effect. Find out more here

10: Traditional Shaped Kite

When in doubt, go with Old Faithful and fly high.

As you can see, there are a lot of different kite shapes that you can choose between each possessing its own merit. If you want to buy a kite, you should be sure that you reach out to a hobby shop that can sell you a great one. This way, you will enjoy your afternoon flying a kite on a beautiful day.

Posted on Leave a comment

How to Construct Your Own Personal Kite

Cape-Town-Kite-Festival

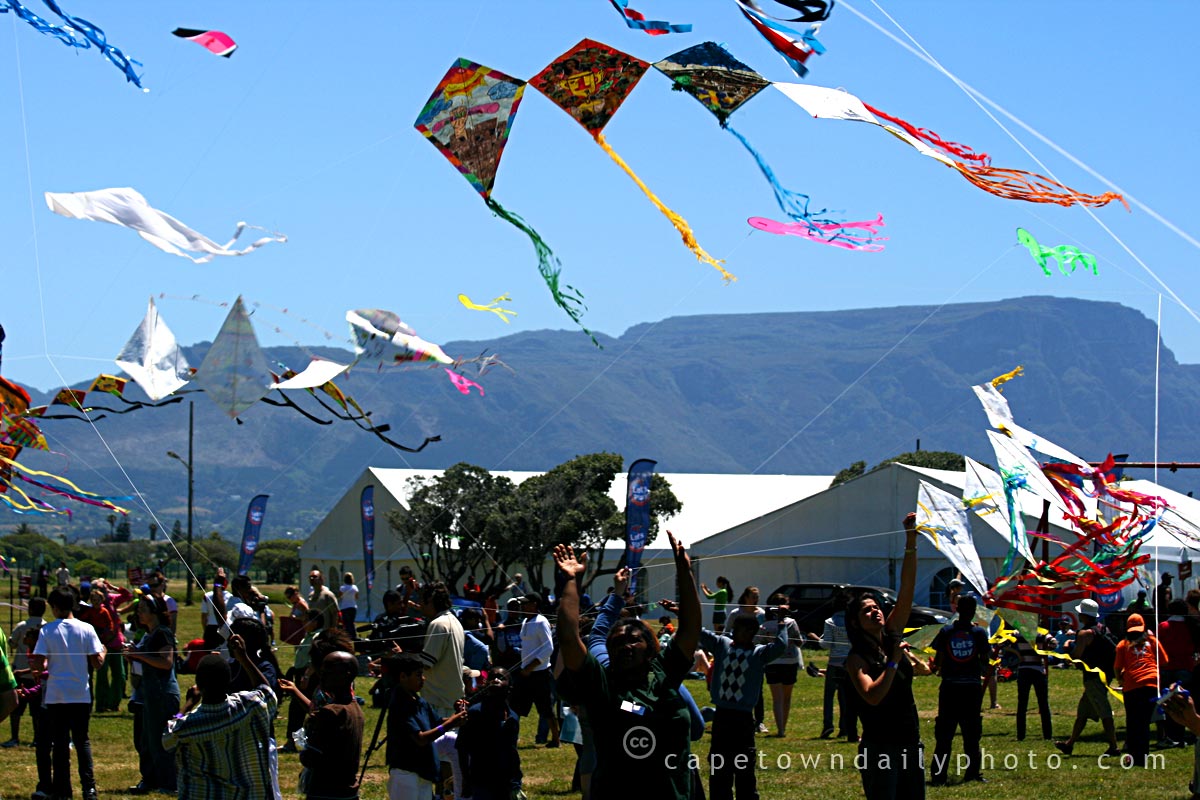
Creating kites dates back to many years ago for various people from various backgrounds and culture. Besides for flying a homemade kite, creating one is a fantastic method to display your innovative and individual talent in relation to arts-and-crafts. For children who are in search of a fun holiday activity, making your own kite and then been able to fly it in the right weather conditions is ideal.

However, the pre-constructed kites are generally more popular nowadays and their prices are normally inexpensive. Even though many parents or individuals prefer to purchase these pre-arranged kites, making your own kite and the efforts utilized is far more exciting and rewarding. One of the main advantages in making your own kite is that you can choose from a variety of colors and construct the kite to your own personal size or shape. With just a few simple items these steps can support you in making a kite you can be proud of.

The Items You Will Need

•A ruler

•Scissors

•A sharp and clean knife

•A razor

•Plastic bags

•Strings

•A strong and thick fishing line

•Bamboo sticks

Steps To Making Your Own Kite

Step 1

Use your knife for cutting your bamboo into 2 pieces. The longest length of the bamboo will be used for the backbone of your kite and will be placed in a vertical position. The shorter bamboo stick will be placed crossways on the vertical stick. Use your string to tie the sticks together where they meet at the midpoint. To ensure that the lengths that divide this cross section are equal, use your ruler in order to calculate the correct measurements.

Step 2

Use your razor or ask your mom or dad help you to form a tiny incision on the end part of every bamboo stick. This incision will need to be deep enough to ensure the fishing line can easily be placed in them without falling out. Then take your fishing string and insert it into each incision along the length of the kite. Continue by pulling this string around the entire kite until you are able to make a loop on the top part of your kite. Make sure you wrap your string around a couple of times to ensure that your structure is stable.

Step 3

Take your plastic bag and place it under the structure of your kite. Then cut around the shape of your kite with your scissors ensuring you leave enough plastic to wrap around each edge of the triangular shape. Once you have cut out the shape use your glue on the plastic around the borders and wrap the plastic around each border tightly. Make sure you cover the areas where the string is enclosed.

Step 4

Use another length of string and connect the string at each end. Once you have completed this step fasten the string at the point where the sticks cross over in the center. This is the point where your string will enable you to fly your kite.

Step 5

The last step involves tying a string to the bottom end of your kite to create the tail for your kite.

Warnings And Tips

•In order to re-enforce your frame on your kite use spray glue at the center where the two bamboo sticks meet.

•When you fly your kite, stay away from power lines. If your kite gets tangled in a power line you will not be able to retrieve it.

•You can use these same steps with a few minor adjustments to create different shapes for your kite such as octagons or a squares.

If you would like your kite to have more strength, when constructing your frame, make sure it has a slight bend.

To learn more about kites and kite building click here.

Posted on Leave a comment

Are You Searching for the Best Power Kite Brands Today?

South-Africa-Kite--013

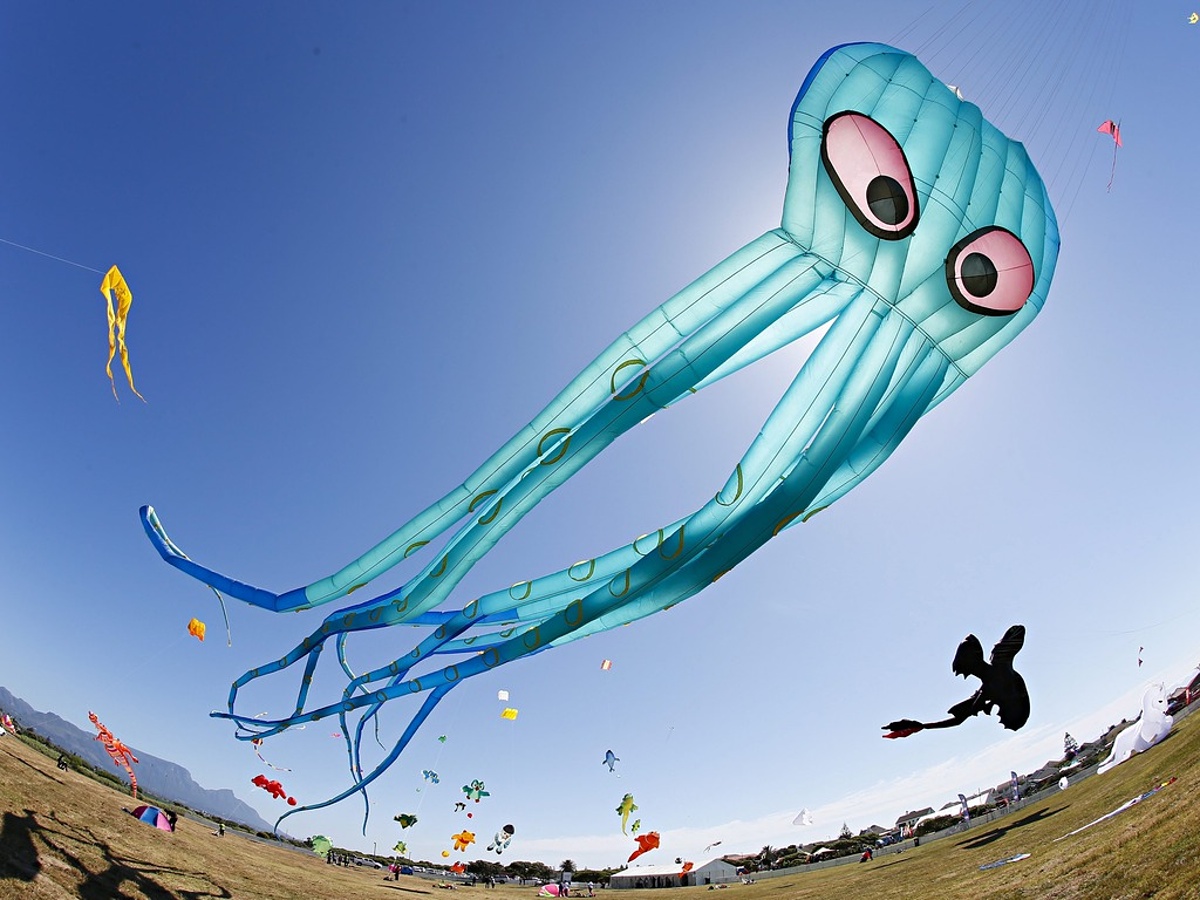
Have you been thinking about taking up the hobby of flying kites, and heard that power ones are the best way to go? Are you uncertain about which of the choices out there are really the best power kite brands, and which are not a good value for the money that you are investing in the product? If so, then you need to find the best options that are available to you, and make your choice based upon the criteria that you have deemed important.

Go online and begin your research by searching for power kites and noting what the top selling brands are on the list. You can even visit some of the websites, and filter the search results so that best sellers show at the top of the list, which will likely present the best ones in their price ranges. However, things such as holiday sales can sometimes slant these figures as those who do not know anything about flying kites attempt to make gift purchases for loved ones who are interested or may become interested in this traditional form of play for all ages.

Once you have determined the brands that sell the most, you can start researching each of them to find out the history of the company and the general reputation they have among the public. You can visit the company websites of the kite manufacturers, and read their about us page in order to find out more of the stuff that they are going to share with the public.

Then, you can also visit consumer review websites and read what people like you have to say regarding their experiences with various brands. You will also want to find out which of the models are most successful for the company. Keep in mind that there are many different types of kites out there, and a company may perform better at constructing one type than another. You can refine your searches by power kites in order to make certain that you are focusing upon brands that have a good reputation in this particular area of kite making.

This research will help you to decide which brand and model you wish to choose because you will have looked at the best power kite brands on the market today. Enjoy your time and adventures with your brand new kite!