Posted on Leave a comment

The Top Ten Kite Shapes for Fun Flying

Girl-Kite Beach

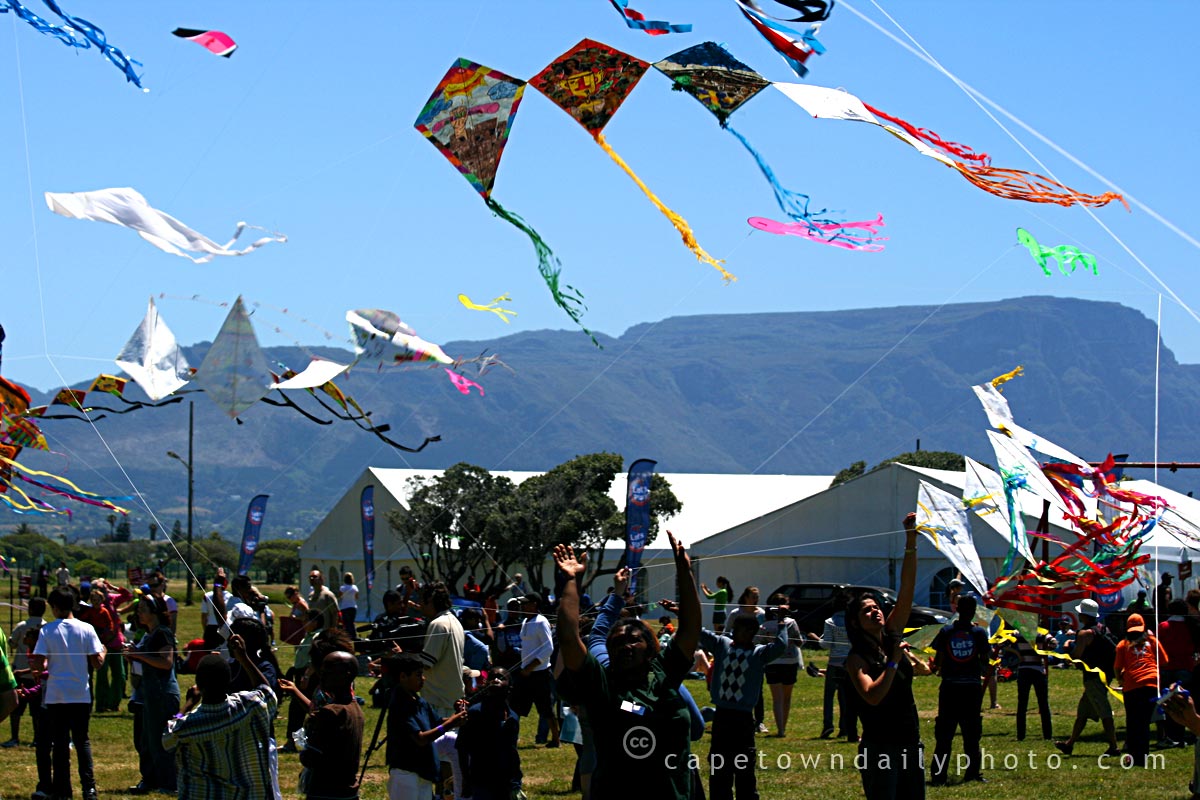
If you have a kid or are a kid at heart, you owe it to yourself to enjoy some fun outside by flying a kite. There are a lot of different types of kites that you can choose between in order to enjoy and experience this. These kites have such fun shapes that you will be able to take advantage of in order to watch them soar high. If you want to buy a kite and take it for a fly far up above, consider these top ten kite shapes for fun flying.

1: Wing Shaped Kite

This kind of kite is majestic and beautiful to look at simply because of its winged shape. There are a lot of colors and designs that you can purchase to match the shape.

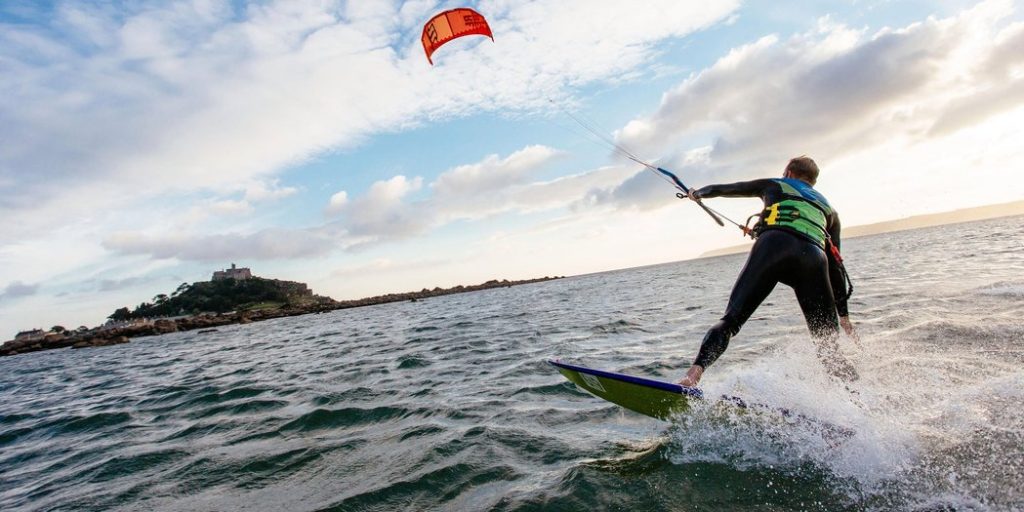
2: Flexible Shaped Kite

There are some kites that are free form and do not adhere to any particular state. This way, they will switch shape depending on the movement of the wind.

3: Diamond Shaped Kite

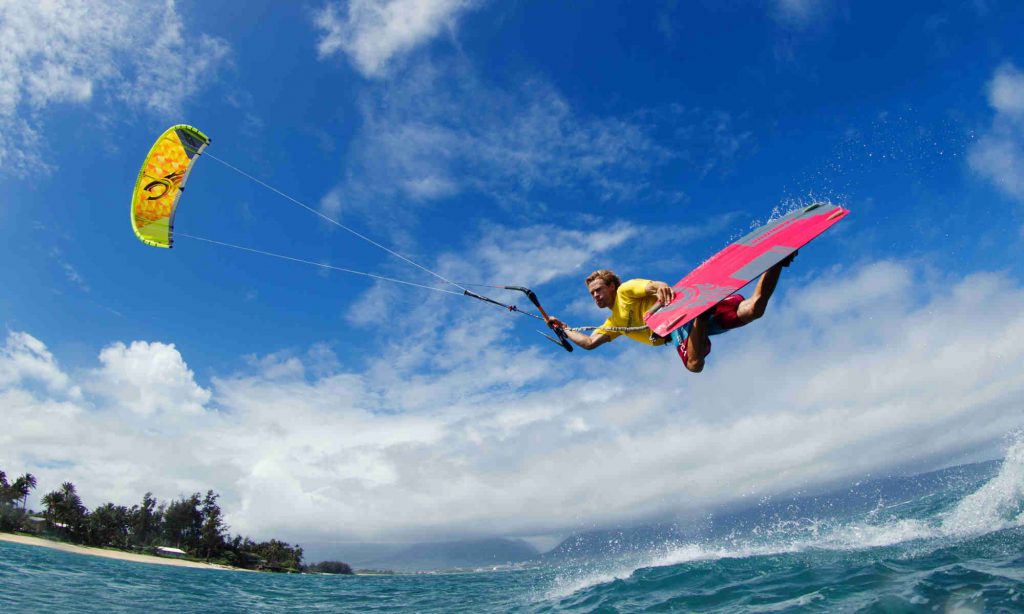
There are a few shapes more aerodynamic than the diamond shaped kite. This kite will fly high and will be fun to try out.

4: Triangle Shaped Kite

This type takes it back to basics, but has plenty of aerodynamic lift.
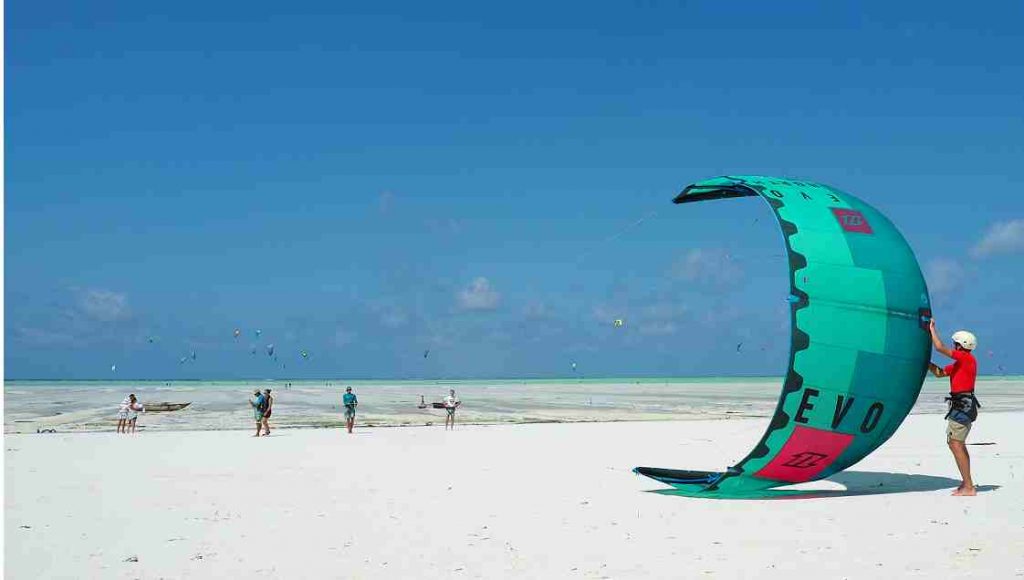
5: Arc Shaped Kite

If you really want your kind to soar high, this shape will flow and bounce for hours, catching the lift of the wind.

6: Pirate Ship Shaped Kite

Everybody loves a good pirate story. You get to live out that story using one of these kites.

7: Plane Shaped Kite

There are many kites that our shaped this way and come complete with decks and propellers.

8: Bird Shaped Kite

If you can’t fly like a bird, at least your kite can. This provides a great visual as your kite soars above the clouds.

9: Square And Rectangle Shaped Kite

There are many types with stacked squares and rectangles, creating an interesting double-decker effect. Find out more here

10: Traditional Shaped Kite

When in doubt, go with Old Faithful and fly high.

As you can see, there are a lot of different kite shapes that you can choose between each possessing its own merit. If you want to buy a kite, you should be sure that you reach out to a hobby shop that can sell you a great one. This way, you will enjoy your afternoon flying a kite on a beautiful day.

Posted on Leave a comment

How to Construct Your Own Personal Kite

Cape-Town-Kite-Festival

Creating kites dates back to many years ago for various people from various backgrounds and culture. Besides for flying a homemade kite, creating one is a fantastic method to display your innovative and individual talent in relation to arts-and-crafts. For children who are in search of a fun holiday activity, making your own kite and then been able to fly it in the right weather conditions is ideal.

However, the pre-constructed kites are generally more popular nowadays and their prices are normally inexpensive. Even though many parents or individuals prefer to purchase these pre-arranged kites, making your own kite and the efforts utilized is far more exciting and rewarding. One of the main advantages in making your own kite is that you can choose from a variety of colors and construct the kite to your own personal size or shape. With just a few simple items these steps can support you in making a kite you can be proud of.

The Items You Will Need

•A ruler

•Scissors

•A sharp and clean knife

•A razor

•Plastic bags

•Strings

•A strong and thick fishing line

•Bamboo sticks

Steps To Making Your Own Kite

Step 1

Use your knife for cutting your bamboo into 2 pieces. The longest length of the bamboo will be used for the backbone of your kite and will be placed in a vertical position. The shorter bamboo stick will be placed crossways on the vertical stick. Use your string to tie the sticks together where they meet at the midpoint. To ensure that the lengths that divide this cross section are equal, use your ruler in order to calculate the correct measurements.

Step 2

Use your razor or ask your mom or dad help you to form a tiny incision on the end part of every bamboo stick. This incision will need to be deep enough to ensure the fishing line can easily be placed in them without falling out. Then take your fishing string and insert it into each incision along the length of the kite. Continue by pulling this string around the entire kite until you are able to make a loop on the top part of your kite. Make sure you wrap your string around a couple of times to ensure that your structure is stable.

Step 3

Take your plastic bag and place it under the structure of your kite. Then cut around the shape of your kite with your scissors ensuring you leave enough plastic to wrap around each edge of the triangular shape. Once you have cut out the shape use your glue on the plastic around the borders and wrap the plastic around each border tightly. Make sure you cover the areas where the string is enclosed.

Step 4

Use another length of string and connect the string at each end. Once you have completed this step fasten the string at the point where the sticks cross over in the center. This is the point where your string will enable you to fly your kite.

Step 5

The last step involves tying a string to the bottom end of your kite to create the tail for your kite.

Warnings And Tips

•In order to re-enforce your frame on your kite use spray glue at the center where the two bamboo sticks meet.

•When you fly your kite, stay away from power lines. If your kite gets tangled in a power line you will not be able to retrieve it.

•You can use these same steps with a few minor adjustments to create different shapes for your kite such as octagons or a squares.

If you would like your kite to have more strength, when constructing your frame, make sure it has a slight bend.

To learn more about kites and kite building click here.